Archways: Best Tips and Materials
publicat in: General // Publicata pe 31.05.2023
The vault between rooms is often used to create that open-space that is typical of American homes, or to join two rooms with a similar purpose such as the living and dining room. Or the kitchen and dining room. No matter where you want to build your vault design, we'll show you how to do it.
How to build the vault between rooms: step by step
Although many will say that the vault between rooms is out of fashion, there are layouts and projects by architects that debunk this rumor. Architects and designers always use these tricks and take care to include them harmoniously in the design, so you can do it too. And we'll show you the steps to create a vault pattern for your interior.
Step #1
The first step in making an archway instead of a door is to measure the available space. Measure the width and height and keep in mind that the door will drop 10-15 cm in height. Later, this "dead" space can be lined with decorative inserts. The width is measured and divided by two. The figures are necessary for the semicircle to be uniform and symmetrical.
.jpg)
Archways design ideas, photo source: pinterest.com
Step #2
This is basically the demolition of the frame or elements where you want to build the vault between the rooms. Use string and a pencil to draw the pattern and size as explained above.
Step #3
Cut four ¼" pieces of wood to use as anchors for the drywall. Fasten them with nails. Cut two pieces 20 cm long and another two, equal to a third of the width of the opening. Attach the shorter ones to the small side of the opening and the longer ones to the top of the opening as shown in the picture.
Step #4
The moment we install the drywall for the arch. Make sure this piece is as wide as the opening and that you use drywall that is the same thickness as the existing drywall. Fasten the plasterboard into those wooden anchors and nails mentioned earlier.
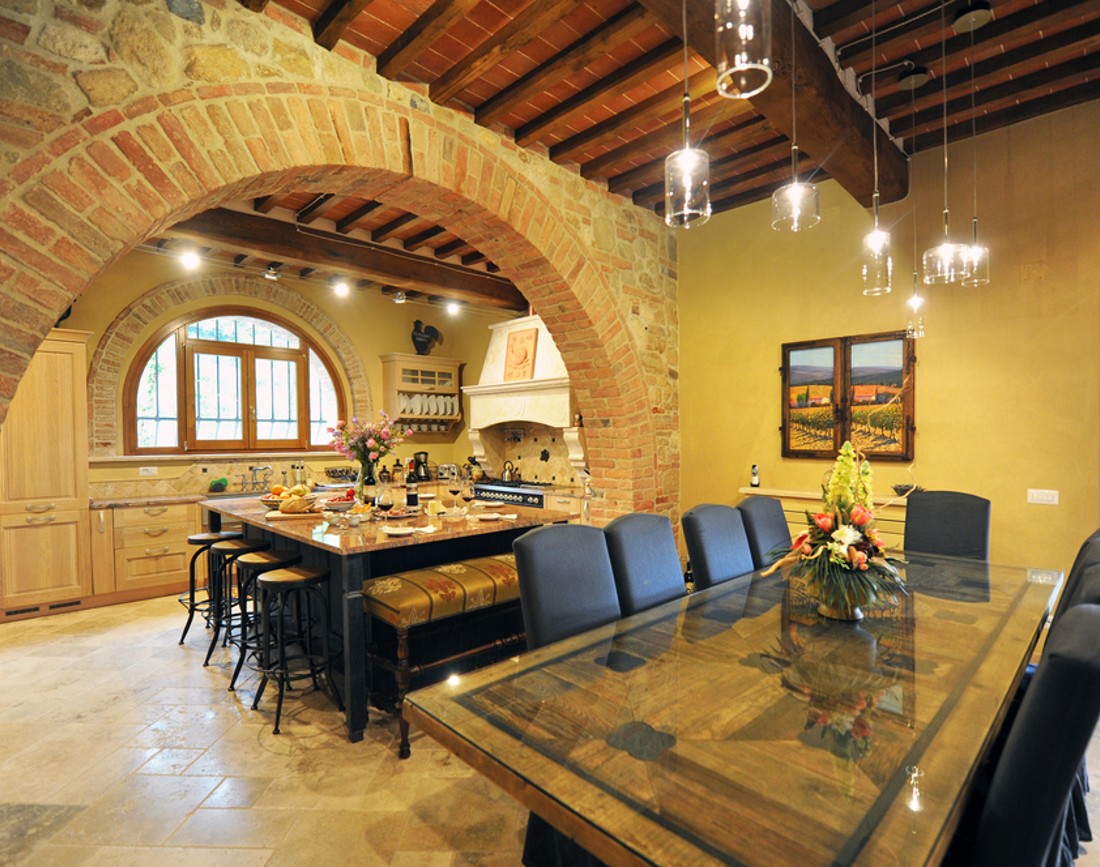
An archway can be added between kitchen – living room or dining room – living room, photo source: pinterest.com
Step #5
Use a pencil to mark the shape of the new drywall and cut it out as needed. Follow the pencil lines as closely as you can, but don't worry if the cuts are a little crooked, as the vault between the rooms will hide them.
Step #6
Hide the gaps between the wall and the plasterboard using plasterboard tape and grout. Cover the edges of the wall and drywall with a paper strip or masking tape to protect the surfaces and add the grout. Allow each coat to dry before applying the next.
Step #7
Here things go two ways, if you want a simple and minimalist vault between rooms, then you can sand and finish the vault and then apply the wash. If you want to use a prefabricated vault and columns, then lift the decorative arch into position and push it up as far as possible.
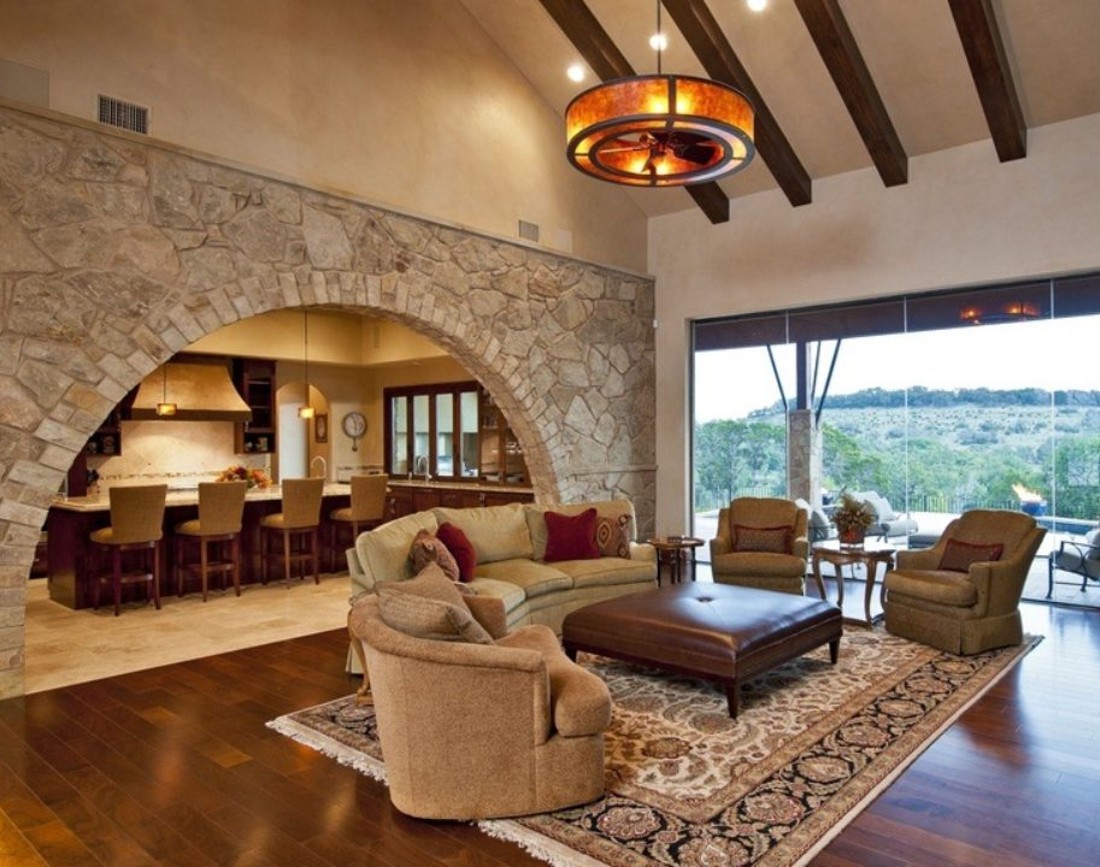
Archway between kitchen and living, photo source: pinterest.com
Step #8
Position the columns under the arch and pull down the arch so that it sits properly on top of the columns. Before nailing the pieces together, make sure the columns are perfectly parallel and that the arch is centered properly. Finally, you can nail the columns.
Archway design: necessary materials
Although it may seem like a difficult precedent, it is quite simple to make such an arch between rooms. You just need a little courage and the necessary building materials.
Decorative silicone plaster - Weber.Pas Silicon Plus
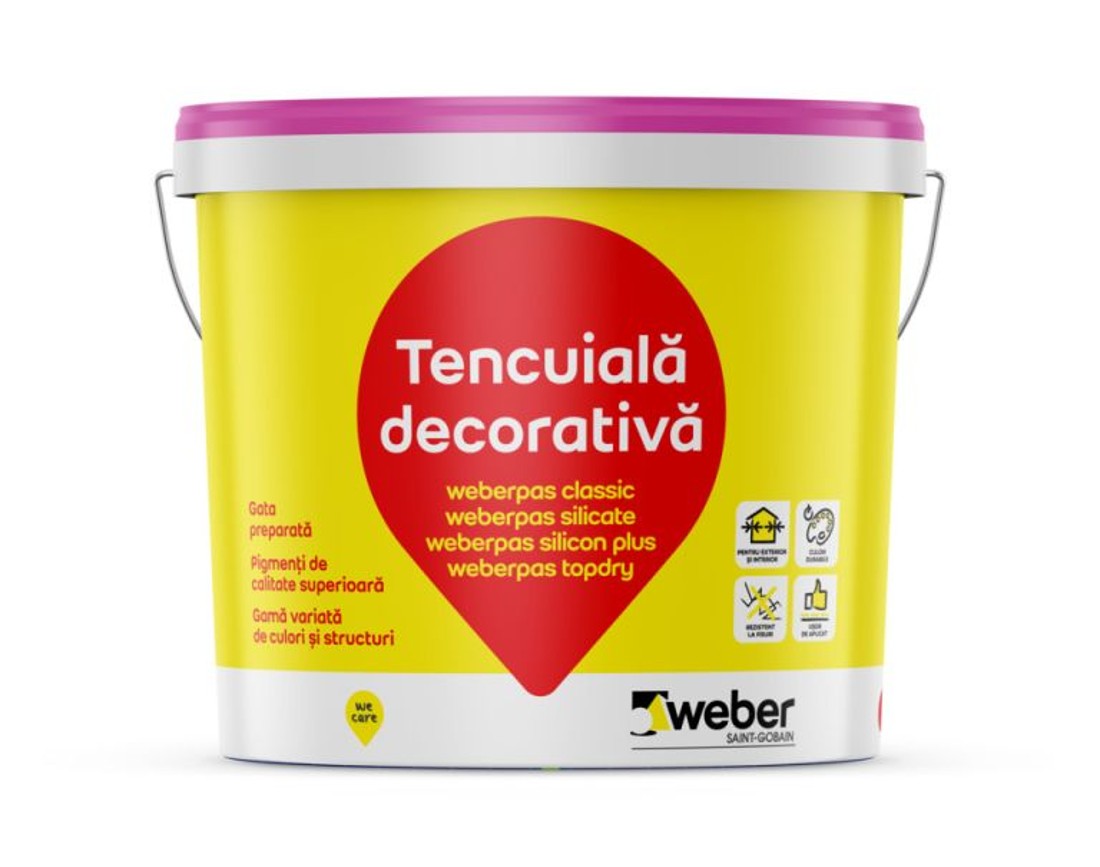
Silicone decorative plaster – Weber Pas Silicone Plus, photo source: PIATRAONLINE
Order now silicone decorative plaster for building a vault between rooms.
This decorative plaster is used for decorating new buildings and renovating old ones. It handles fine the extreme weather conditions, plus the dust polluted ambience. Weber silicone decorative plaster can be used to finish thermal insulation systems and as a final coat over plaster, render, concrete or over smooth thermal insulation plaster with render.
White gypsum-based levelling plaster - Weber N17
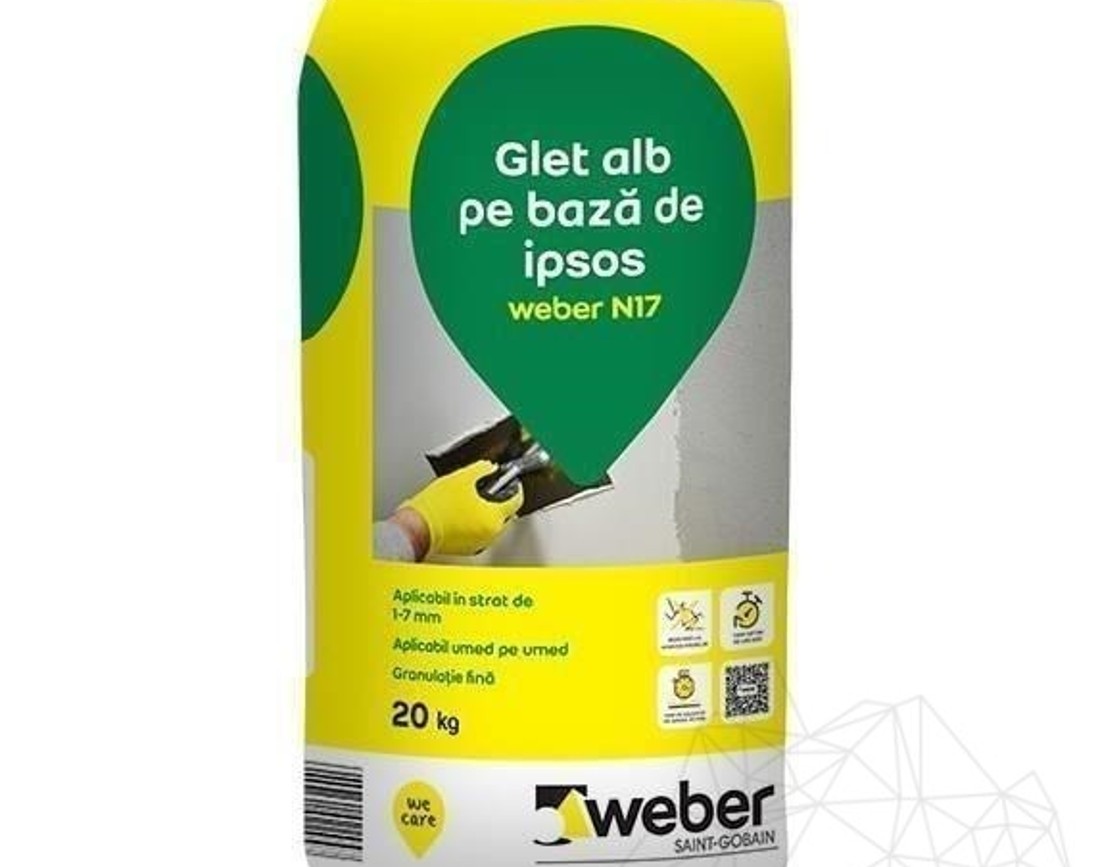
Weber N17 20 KG - White cement-based plaster equalizing, photo source: PIATRAONLINE
Order now the white cement-based plaster equalizing gel.
Weber N17 gypsum-based levelling compound can be used in interior design, both in residential and public areas, for levelling concrete surfaces, cement plaster, lime cement plaster, and plasterboard. Weber's gypsum-based levelling screed is also suitable for the process of natural stone veneering.
Grout Joints - Weber Color Comfort
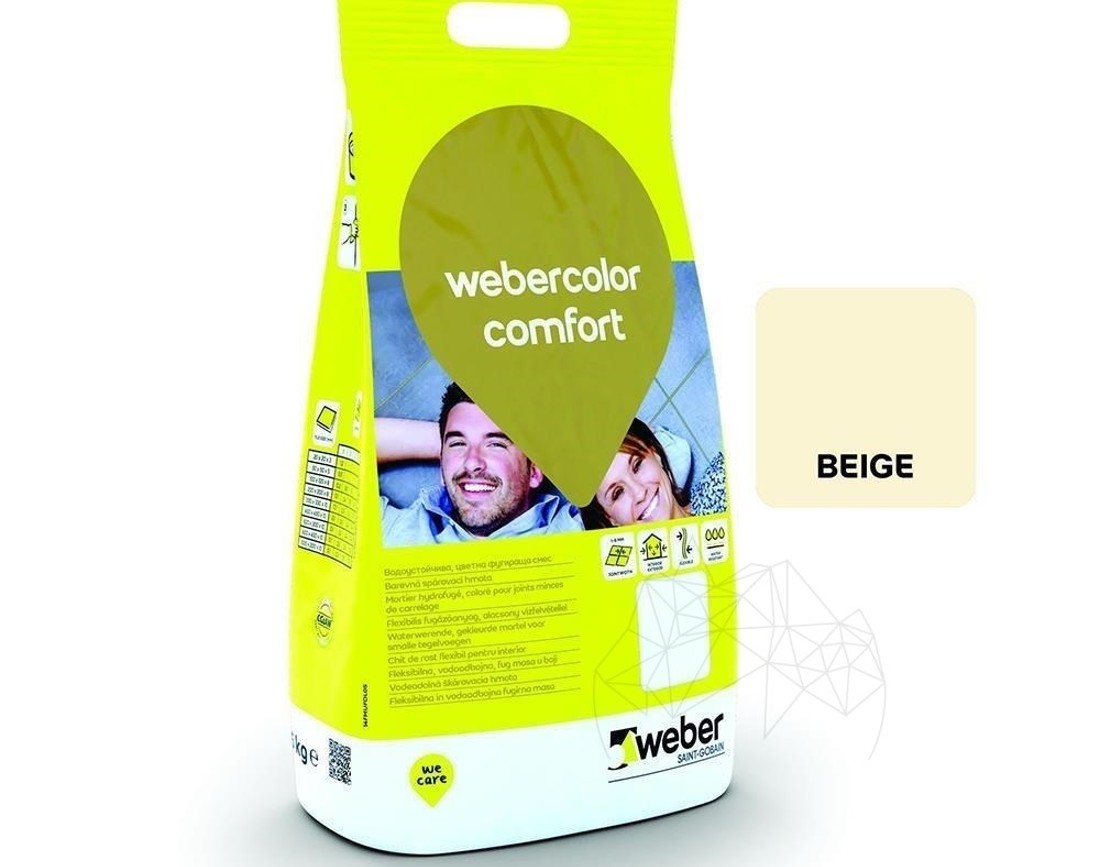
Weber Color Comfort - Flexible wall & floor grout, photo source: PIATRAONLINE
Order now the Weber Color Comfort flexible grout for the archways.
This flexible grout can be used in both interior and exterior installations as well as in wet and dry areas.
For stone cladded areas, Weber grout conveys a relaxing graphic effect by balancing the lines.
For confined spaces, this grout is an excellent way to highlight specific areas.
There are a few important steps you need to take to make sure you can build an archway between rooms, but only if you have the right materials. If you don't want to tackle this project yourself, you can enlist the help of a building specialist. What to remember? Always use the right materials.